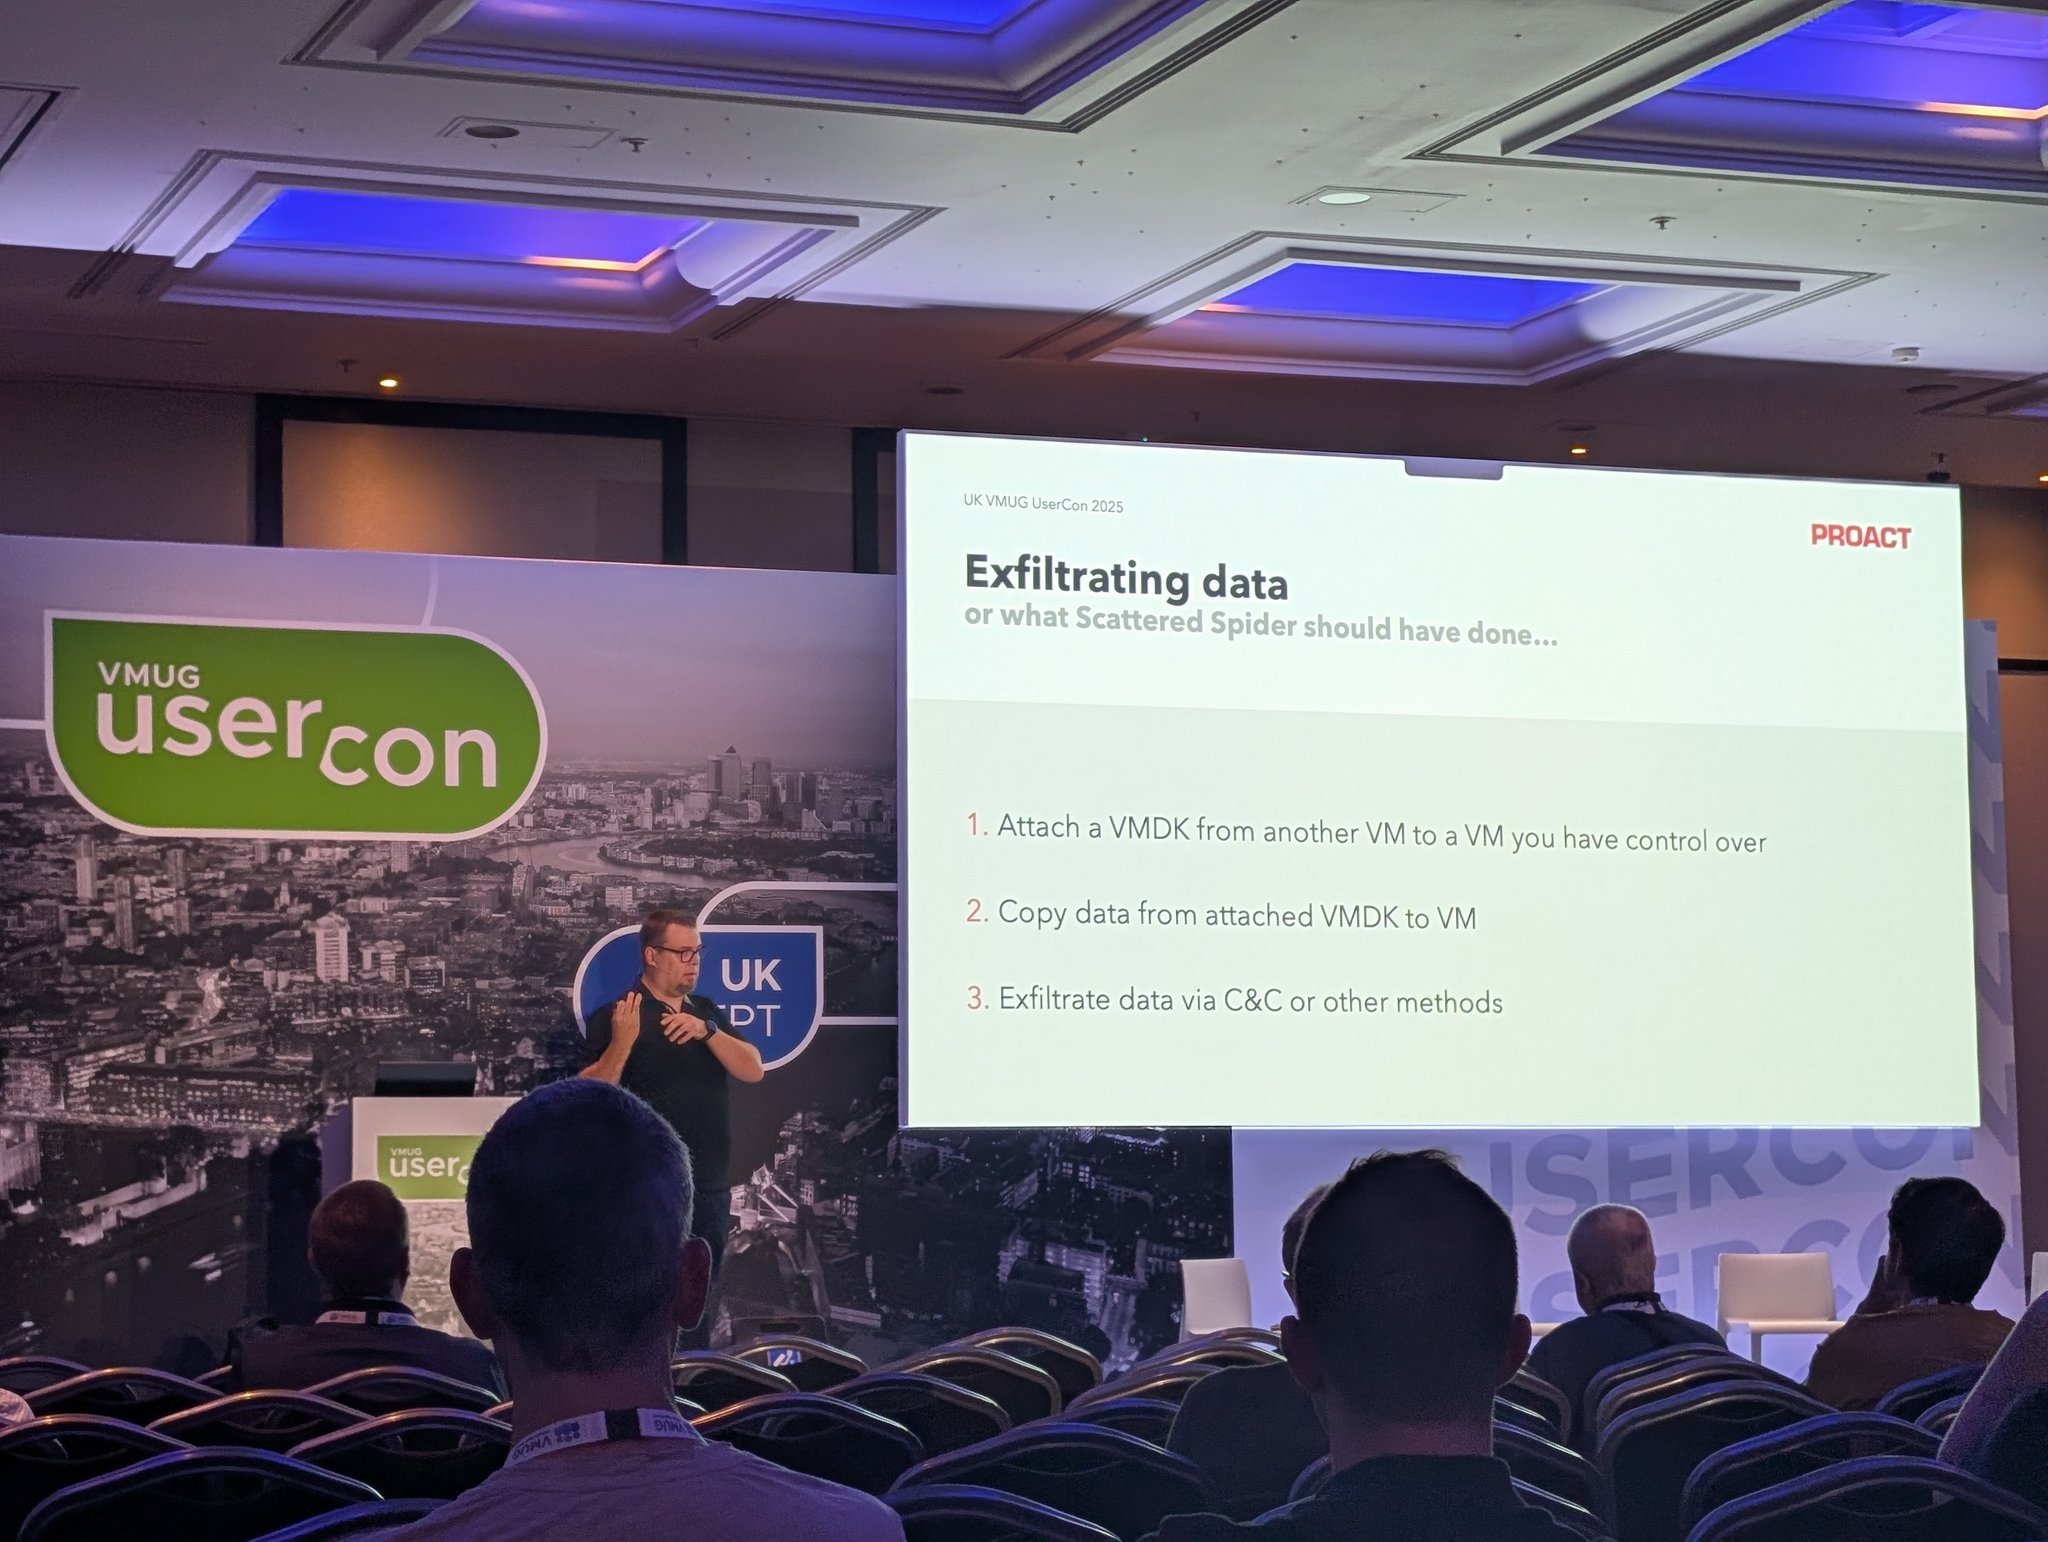
At the VMUG UserCon UK 2025 I presented a session called “vSphere: It’s All Fun and Games Until Someone Gets Root”. The premise of the talk was the havoc a malicious actor can wreck in an environment, if they gain root access to an ESXi host. (YouTube recording, sadly audio only until the 21 minute mark)
Of course, once someone has gained root access, all bets are off anyway, but there are some interesting tecniques that can be utilized simply by using native commands. This is otherwise known as Living off The Land (LOTL), where attackers use legitimate tools and features that are already present on a system, without the need for any external binaries or scripts.
LOLbins for ESXi#
LOLBins, or Living Off the Land Binaries, for ESXi hosts are interesting. These tools require no external dependencies, or code, to run which means that the ESXi Advanced setting VMkernel.Boot.execInstalledOnly will not prevent them from running at all.
Besides, if someone has root access to an ESXi host, they can just turn the setting off anyway.
Rogue / Ghost VMs#
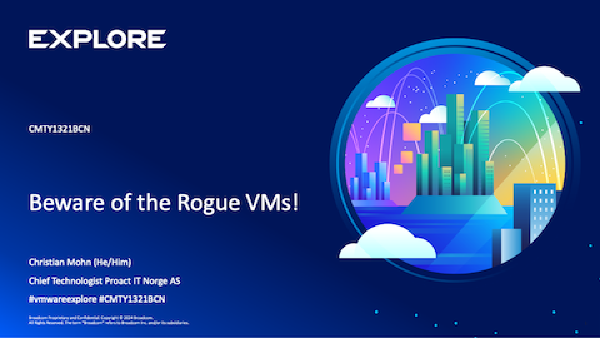
Shown at Explore 2025 in Barcelona, and published in Beware Of The Rogue VMs! This procedure still works in ESXi 8 and ESX 9, however if the environment is running Distributed Switches and/or NSX it is not easy to give a Rogue VM network access, since the nature of those setups require the VMs to be registered properly in the vCenter.
Rogue VMs might still be useful in such an environment, as the method of exfiltrating data from VMs still work without network access for the VM itself — as long as you can reach the console of it somehow.
Exfiltrating data from VMs#
This section builds on the Rogue VM section, but the technique can be utilized on any VM, registered or not.
Creating and cloning a snapshot#
| |
By utilizing the vim-cmd vmsvc/snapshot.create command, an attacker can create a snapshot of a running VM. Identify the VM to snapshot (Line 1), and create the snapshot (Line 2).
vmkfstools can then be used to clone the snapshot into an independent .vmdk file (line 3). This is barely visible in the vCenter Client (if at all), so it shouldn’t raise any eyebrows.
Add the cloned disk to a VM#
In this case there is a running Rogue VM that I want to attach the newly cloned .vmdk file to, so I need to stop it from running to be able to add the disk to it. Normally this could be done with vim-cmd vmsvc/device.diskaddexisting but since the Rogue VM by nature is unregistered on the ESXi host, attaching the .vmdk file has to be done in a different manner.
Stop the Rogue VM#
By using esxcli vm process list I can identify the world-id associated with my VM and kill it with esxcli vm process kill -t force --world-id <id>.
| |
Edit the VM .vmx file#
Once the Rogue VM is no longer running, the .vmx file can be edited and the clone.vmdk file attached.
scsi0:1.deviceType = "scsi-hardDisk"
scsi0:1.fileName = "/vmfs/volumes/68b81584-ef417095-8ff0-00505691514a/win-vm01/clone.vmdk"
sched.scsi0:1.shares = "normal"
sched.scsi0:1.throughputCap = "off"
scsi0:1.present = "TRUE"
After adding the disk the Rogue VM can be restarted, and the .vmdk is available to it. Mounting the drive gives full access to all files, without turning off the original VM. This way NTDS.DIT and SYSTEM Registry Hives can be extracted from a Windows Server Domain Controller for offline password cracking with tools like Hashcat, as well as saved browser credentials or other files of interest, mostly without visible traces in the vSphere Client.
The snapshot created earlier will be visible, so removing it after the clone operation would be a good idea.
Something similar has been seen in the wild by Scattered Spider but their approach has been more of a brute force one.
Their tactic has been to power off VMs and then attach the powered off VMs .vmdk file to a VM under their control.
My example here utilizes cloned snapshots instead, something that is less likely to cause alerts in the environment as there is no need to turn off VMs to access its disks.
If the VM used for extraction purposes does not have network access, adding a second small .vmdk file to it where extracted files are place would make it trivial to copy that .vmdk from the Datastore it is located on out from the host via SSH instead of exfiltrating large .vmdk files.
Encrypting VMs#
It is fairly simple to encrypt all files on a filesystem that ESXi can write to, without any external binaries or code.
| |
Explanation#
Line 1-2
The for loop iterates through the following commands:
vim-cmd vmsvc/getallvms → lists all registered VMs on a VMware ESXi host.
awk 'NR>1 {print $1}' → skips the header line and extracts just the first column (the VM IDs).
It then powers off, with vim-cmd vmsvc/power.off, for each VM ID to ensure the VM is not running, and it’s files are accessible by the next commands.
Line 4-9
Proceeds to use openssl to encrypt and salt all files it finds, with the password stored in the $MYPASS environment variable.
find . -type f → recursively find all files.
! -name '*.ohshit' → skip already-encrypted files.
-print0 + xargs -0 → safe for spaces/newlines in filenames.
-P 10 → run up to 10 encryptions in parallel.
For each file:
openssl enc -aes-256-cbc -md sha256 -salt -pbkdf2 -pass pass:"$MYPASS" → encrypt and salt with AES-256 using $MYPASS as the password.
-out "$1.ohshit" → writes encrypted file with .ohshit extension.
&& rm "$1" → deletes the original file once encryption succeeds.
All files gets encrypted and replaced with an .ohshitfile.
Line 11
>/.ash_history→ truncates the BusyBox ash shell history
>/var/log/shell.log → truncates the shell log file.
This simply empties out the Busybox history, and the ESXi hosts shell.log to ensure that the password used for encryption isn’t easily retrieved.
In summary, this shell script powers off all registered VMs on a host, runs through the datastore it’s run on and encrypts all files it can touch and cleans up logfiles once it’s done. All with native tools provided by any ESXi host by default.
Now this is not the fastest, or most efficient, way to encrypt large files but it shows that it is possible by just utilizing built-in commands and tools. Even if the encryption here takes a while to complete for the larger .vmdk files, the smaller .vmx files encrypt very quickly, making it hard to power on VMs again once this has started churning through the files.
Summary#
Utilizing native tools already present on an ESXi system in malicious ways is fairly simple. The tools used here have real legitimate administrative purposes, but they can also be used for “alternative” purposes.
There are many examples of Living off The Land techniques being utilized in the wild by malicious actors. Going forward my hope is that ESXi goes the route of Talos and implements an autenticated API-only approach. There really shouldn’t be a need for logging into an ESXi host with root privileges at all.


