For those who don’t know, Royal TSX is an awesome Remote Management solution, which supports RDP, VNC, SSH, S/FTP and even ESXi and vCenter. I’ve been using it for years, not just because they offer free licenses for vExperts (and others), but simply because it works really well. Store it’s config file on a synchronized file area (like Dropbox), and boom, your config follows you around from machine to machine, including custom icons. What’s not to like?
Following Ryan Johnson’s tweet, where he showed off his VMware Clarity inspired Royal TSX setup, I decided to do something similar. Unlike Ryan, I decided to run with the standard Clarity icons, and not invert them. Since the Clarity icons are in .svg format, I had to convert them to .png to be able to use them as icons in Royal TSX, I’ll post a separate post on how I batch converted them later.
Currently, my setup looks like this #
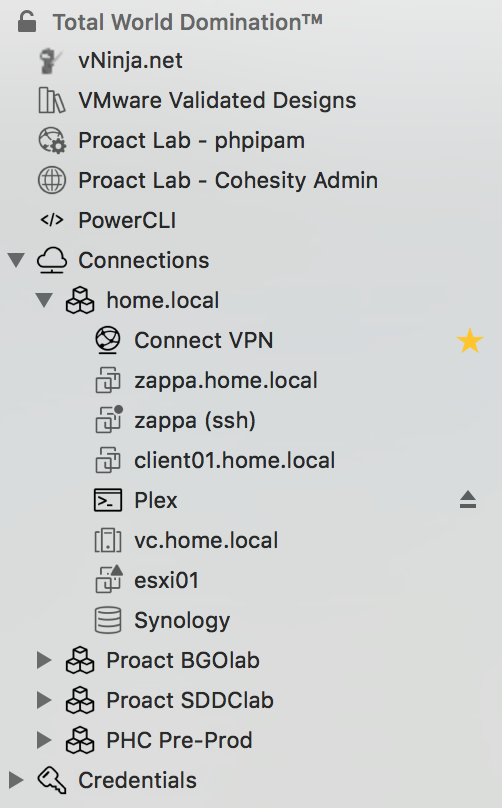 Royal TSX with Clarity icons
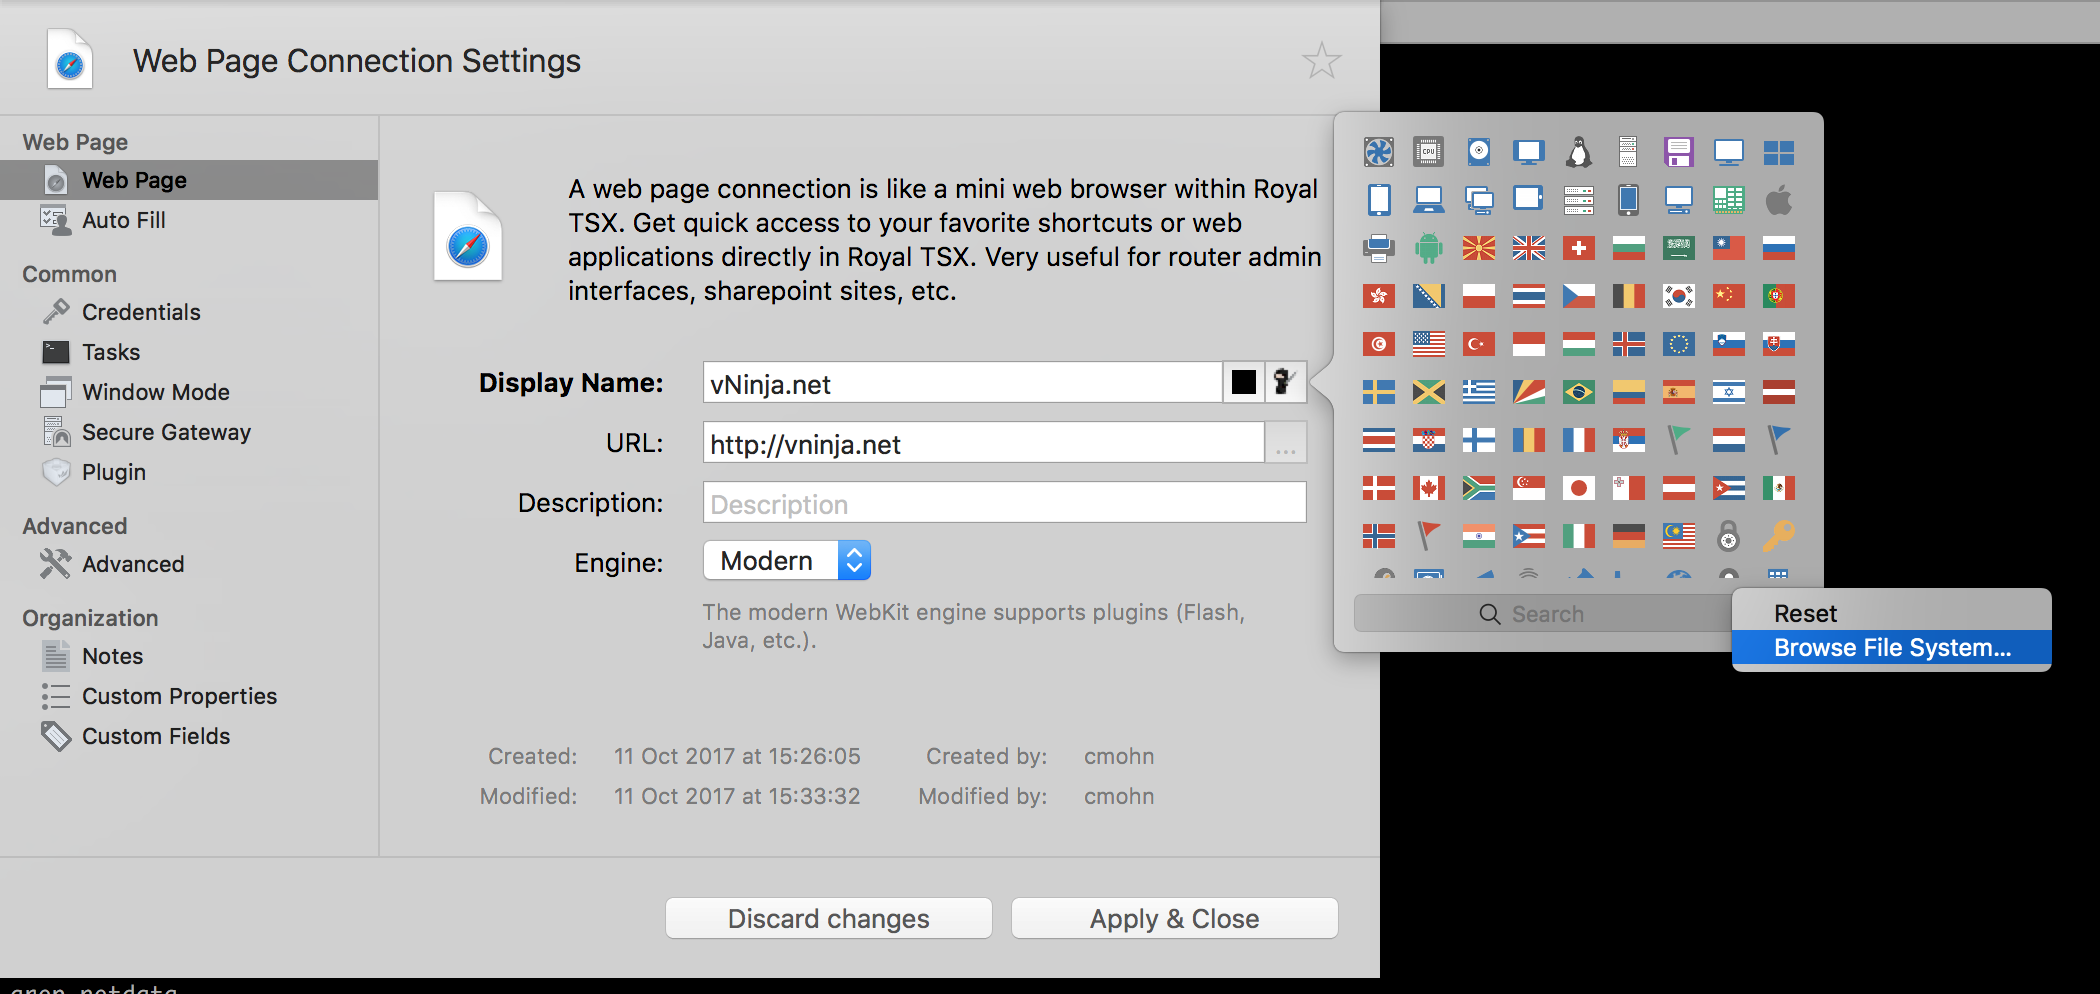
Changing the icons for entries is pretty straight forward. For existing entries in your config file, simply open the items properties and click on the small icon besides the Display Name. This brings up a dialog showing the built-in icons, but also reveals an option to browse your filesystem for a new icon to use.
Update: Felix from Royal Applications left a nice comment, explaining that you can also drag-and-drop icons directory from finder into Royal TSX as well as the manual process described above.
To change the default icons, find Default Settings in the Navigation Panel on the left, and follow the same procedure.
While the primary goal was to prettify my setup with snazzy new icons, I discovered that I could do quite a few things besides that as well.
As seen in the screenshot, there are a couple of web pages added, but perhaps more interesting are the “PowerCLI” and “Connect VPN” entries.
Running PowerCLI Core from Royal TSX #
I run the PowerCLI Core Docker container on my Macbook from time to time, so why not have the option to run it directly from Royal TSX? Once you have it up and running, adding it as a Command Task is pretty easy!
Add a new Command Task, and put in the docker run command in the Command: field
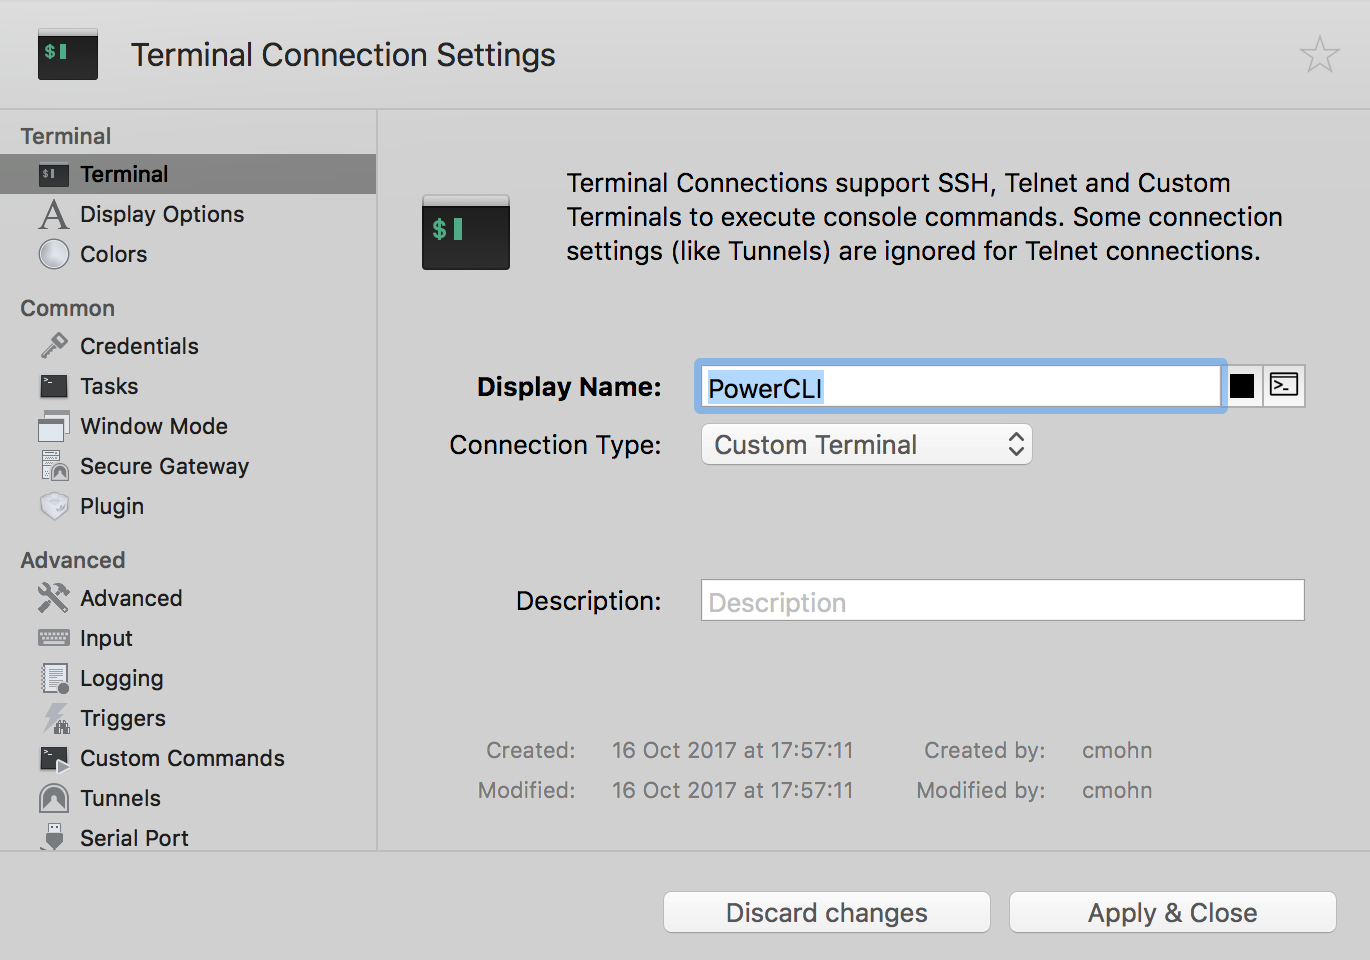
Update: Since originally posting, I’ve discovered that there is an even better ways of doing this, and at the same time keep your PowerCLI running in a tab inside of Royal TSX. Instead of adding it as a Command Task, add a new Terminal connection, but use Custom Terminal as the connection type:
Then add the command you want to run under Custom Commands
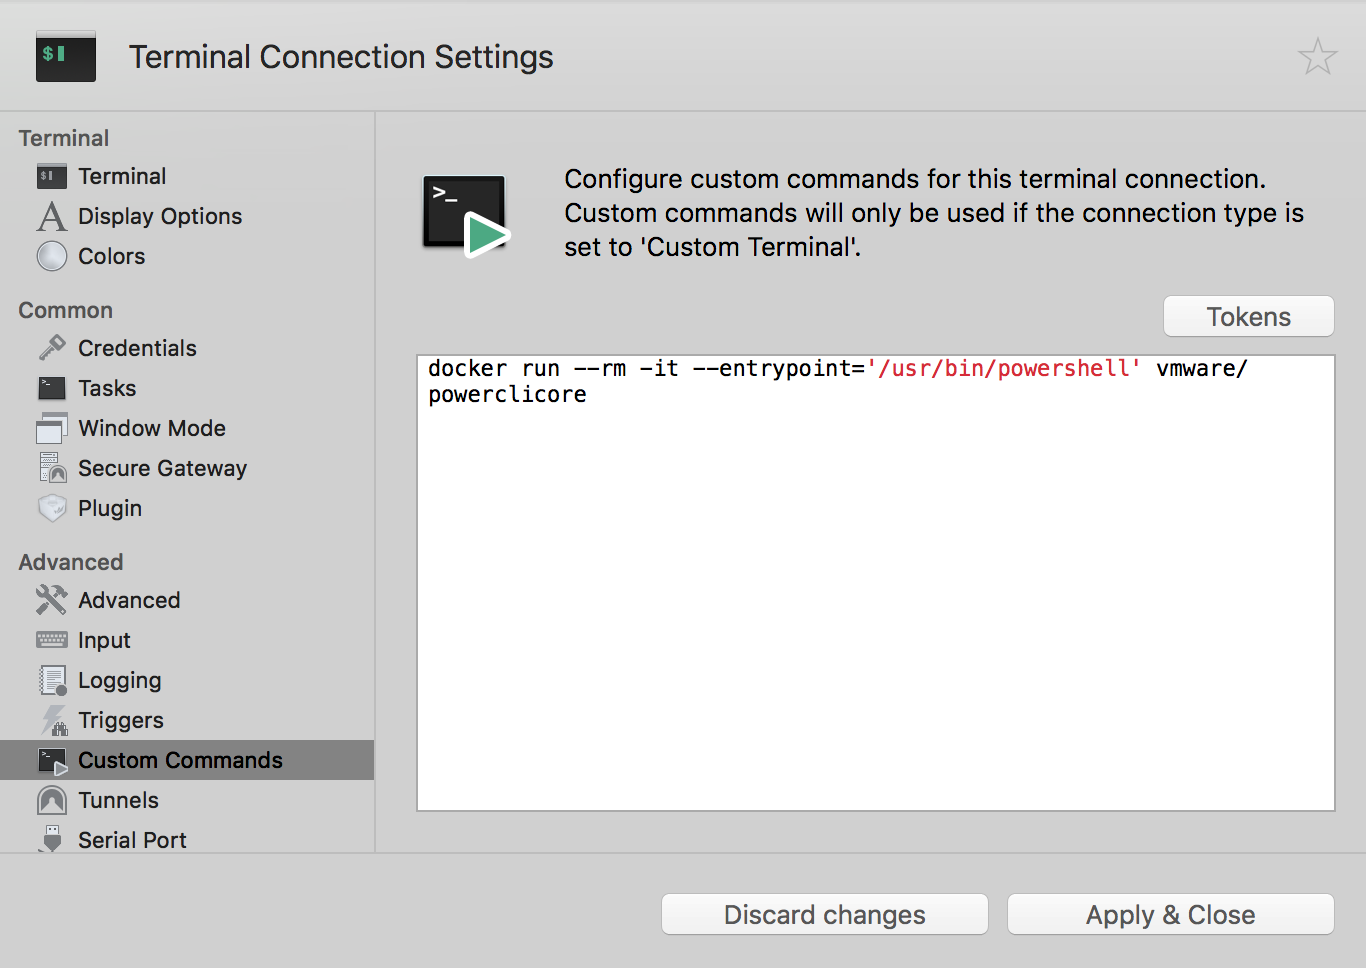
In my case, I want to run the following command:
`docker run –rm -it –entrypoint=’/usr/bin/powershell’ vmware/powerclicore
Now, under “Advanced”, find the Session option. Enable “Run inside login shell” to make sure your applications, like Docker, are found without having to specify the complete path to it, and that’s it. As long as Docker runs locally, PowerCLI core can now be launched directly from the navigation bar, and it opens a new tab inside of Royal TSX!

This can also be used to run other things of course, I’ve added a new Terminal option to my sidebar as well, which opens iTerm2 in a new tab.
Connecting Tunnelblick VPN Royal TSX #
I run OpenVPN at home, and use Tunnelblick as my client of choice. In order to connect to my home network, I’ve created another Command Task, with the “Run in Terminal” option configured, that runs a simple AppleScript command instructing Tunnelblick to connect.
osascript -e "tell application \"Tunnelblick\"" -e "connect \"[your-connection-name]\"" -e "end tell"
I guess I really understated the percentage of awesomeness increase by doing this, it should at least have been 84% 92,7%.
Just did a complete overhaul of my Royal TSX setup. It’s now 78% more awesome.
— Christian Mohn™ (@h0bbel) October 11, 2017
Related Posts
- Mass Converting .svg to .png on macOS — Published
- How I use Todoist — Published
- VMware vSAN 6.6 - What's New for Day 2 Operations? — Published
- Cross vCenter VM Mobility Fling - macOS? — Published
- Got VMware vRealize Log Insight? — Published
