My new colleague Olav Tvedt asked me if I could test his method of enabling Bitlocker in a VM, on VMware vSphere. Of course, I was happy to oblige.
I followed the same steps as he did in his Running Bitlocker on a Virtual computer post, and it worked perfectly.
The only real difference between doing this in Hyper-V and on ESXi, is that the virtual floppy drive on ESXi by default doesn’t emulate an empty floppy. So, in order to mount a virtual floppy you need to create a new floppy image. Thankfully the vSphere Client can do this for you!
To use the vSphere Client to create a floppy image you can later mount in a VM, you need to edit a VM’s settings. Find the floppy drive, if the VM doesn’t have one add one, close the window and return to the VM settings once the floppy drive has been added, and select “Create new floppy image in datastore: “.
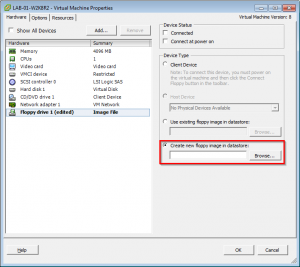
Click on the Browse button and browse to your preferred location for the floppy image. Name it, and click on Ok.
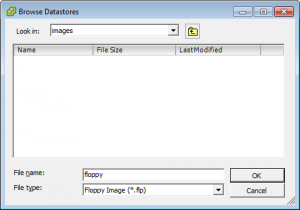
Click on Ok again to close the VM settings window and return to the vSphere Client.
There you go, an empty virtual floppy image that you can mount in a VM is now created.
To mount the image, find the floppy drive icon in the vSphere client and select the Connect to floppy image on a datastore option.
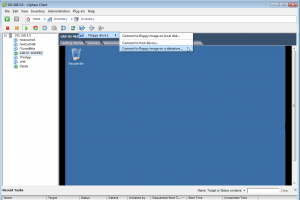
Browse to the location where you created the floppy image, and select it.
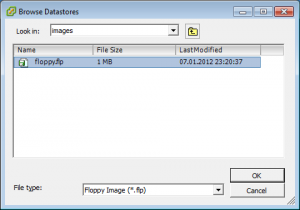
Now, the VM has an empty floppy that you’ll need to format before you can use it.
Follow Olav’s guide to encrypt the boot drive with Bitlocker, without the need for a TPM chip or USB device connected to the VM!
And yes, it works as you can see here:
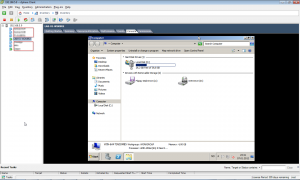
So much for never needing a floppy disk again. Oh, and by the way, you can of course do this is VMware Workstation 8 as well.
