I need my caffeine fix. It also needs to be very readily available when I wake up. Before home automation, I used to load my Moccamaster KBGT741 Thermal Coffee Maker with water and ground coffee before bedtime so all I had to do was to hit the power button to get caffeine flowing.
But why not schedule it to before I get up so that there is always fresh coffee available the instant I get up in the morning? Add an IKEA Trådfri Smart Outlet, and I can schedule my fix! Since the coffee maker brews into a insulated carafe, it doesn’t get burned, if I sleep in, while at the same time keeping it hot. Now that is a big win!
I know, this method doesn’t provide the absolute best coffee experience, but as far as I’m concerned availability beats quality in the wee hours of the morning.
This series of posts is not intended to be a Node-RED and Home Assistant 101 introduction. There are other resources for that readily available, that does a very good job at explaining how to get up and running:
Workflow description#
- At a given time, power on a smart outlet. Specifically the one my coffee maker is connected to.
- Fresh pots
- Profit
In order to get this working, the following Home Assistant integrations and Add-ons needs to be installed and configured:
My final workflow looks like this: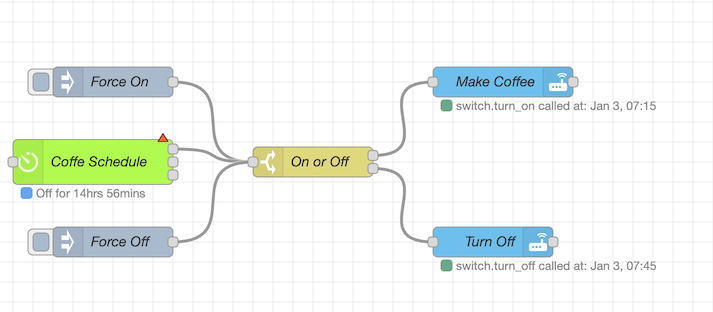
This workflow looks a bit more complex than my Light Color Changes for Calendar Based Events one, but in reality it isn’t much harder to set up.
Node-RED Workflow Walkthrough#
The Bigtimer node is really great, and can be used for a plethora of time based events. In this workflow I’m only using it as a simple scheduler, which triggers an on event at a given time, and and off event at another time.
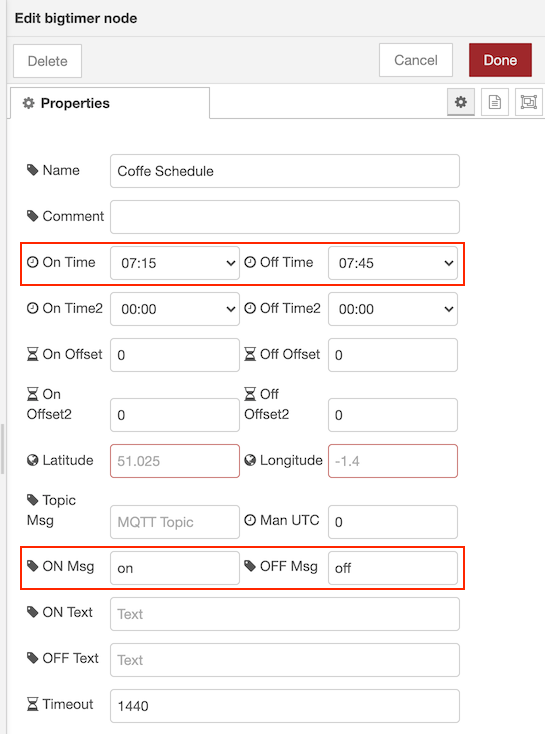
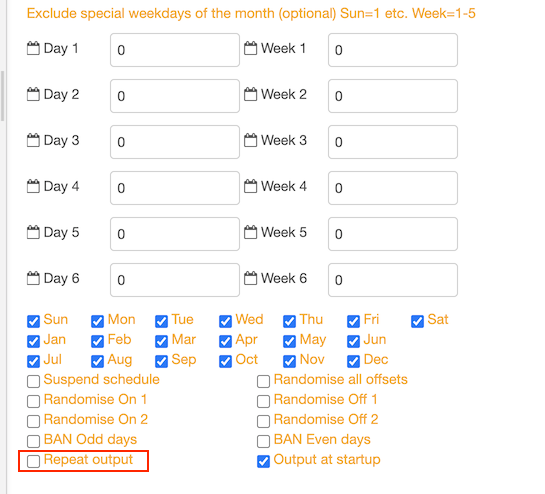
All I do here, is set it output to on at 07:15 and off at 07:45. The ON Msg is set to on and OFF Msg is set to off, as those are the states that the IKEA Trådfri Smart Outlet expects to recieve. You can check those values in http://your-ha-instance:8123/developer-tools/state, and test setting states there.
The only other setting that’s changed from default, in my setup, is that I’vee disabled the Repeat output setting at the bottom of the Bigtimer Node properties, as there is no need to repeat it once it’s fired.
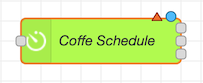
The topmost connector on the right hand side of the Bigtimer Node is the on time / off time selector, which will be connected to the next node in the workflow, the Switch Node.
- Switch Node
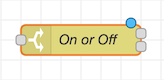
The second part of the workflow is a simple switch node, that differentiates between an on or an off event from the Bigtimer Node.
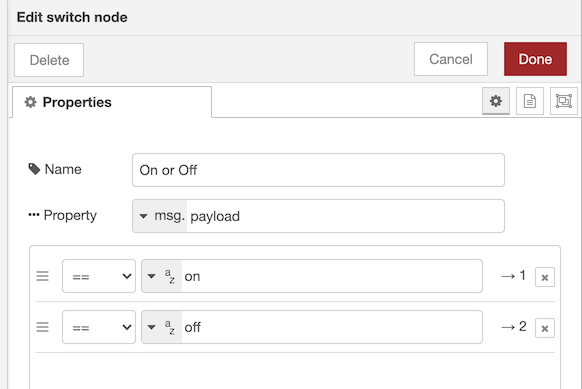
This basically just takes the output from the Bigtimer Node, which is either a value of on or off, and decides the flow from there. The topmost connector on the right hand side is the first value, which in this case is on and the second one is a value of off.
- Call Service Nodes
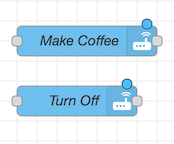
Based on the value from the Switch Node is either on or off, it calls a service in Home Assistant. If the event is on, it proceeds to the Call Service Node: Make Coffee. If the event is off, then it runs the Call Service Node: Turn Off.
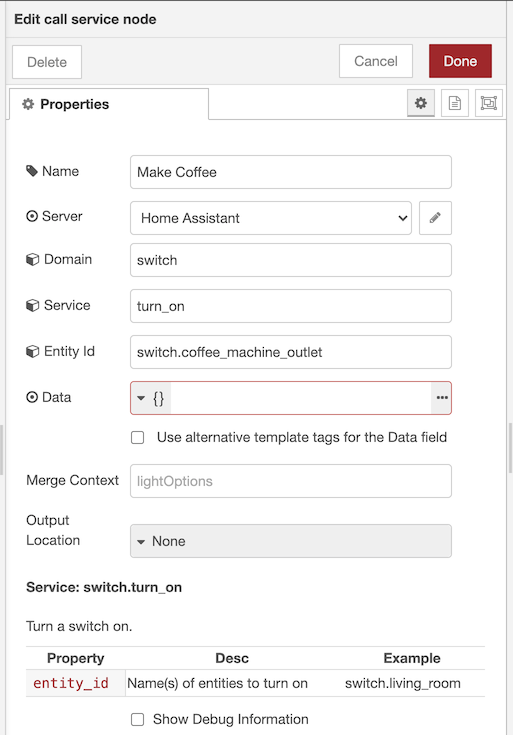
Call Service Node: Make Coffee#
The Call Service Node: Make Coffee simply turns the selected smart outlet on. Name is your chosen name, Server is Home Assistant, Domain is switch and the Service to call is turn_on. In Entity Id the chosen smart outlet is chosen, and that’s it. There is no need for any aditional payloads in this node.
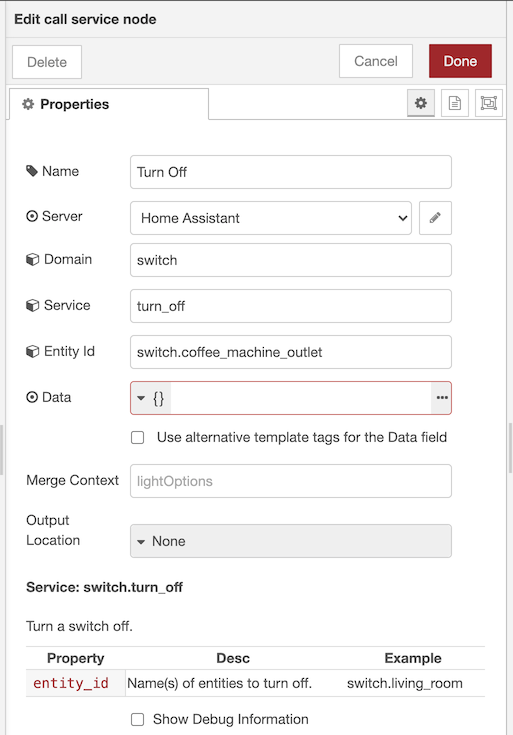
Call Service Node: Turn Off#
The Call Service Node: Turn Off turns the selected smart outlet off. It is basically a copy of the Make Coffee one, with a different name and one small edit. Name is your chosen name, Server is Home Assistant, Domain is switch and the Service to call is turn_off. In Entity Id the chosen smart outlet is chosen, and that’s it. Like above, there is no need for any aditional payloads in this node.
- Inject Nodes

The two other nodes in my workflow, are inject nodes. These are very useful, especially when working with timed events as it’s a way to force an event to happen — regardless of the timer schedule set up in the Bigtimer Node
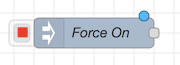
Force On#

All this does, is to forcefully send a msg.payload of on to the connected Switch Node, thus making the workflow trigger the same way as a timed on message from the Bigtimer Node. The Inject Nodes are triggered manually by clicking on the square on the left hand side of the node.
Force Off#

Same as the Force On Inject Node, but this one sends a msg.payload of off to the Switch Node.
Workflow#
Once all of the nodes are configured, and available in the Node-RED canvas it’s just a matter of connecting them together like this:
Once the workflow works as intended, the Inject Nodes can be removed, but I like keeping them around as easy debug tools while developing time based workflows. Nothing is more annoying than having to wait to a given time for something to happen, only to find that it doesn’t work.
That’s how I ensure my caffeine fix is ready when I wake up, courtesy of Home Assistant, Node-RED and IKEA Trådfri.