I’ve had it connected to a smart outlet that I can turn off/on via Home Assistant, which I’ve in turn created a webhook to toggle on/off which I then call from my Elgato Stream Deck for easy accesibility.
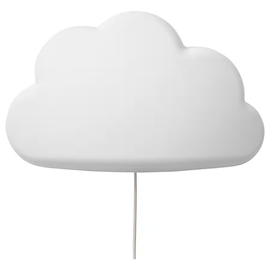
Removing the existing LED light inside of the UPPLYST lamp is a simple operation, as the LED is fixed to a back-plate that pops out via three simple plastic clips. The same goes for the LED fixture, it’s easily removeable as well, once the back-plate has been removed.
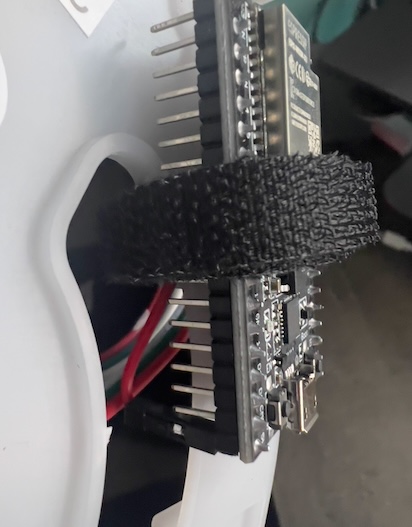
Once that was done, I added a ESP32-DevKitC that I had flashed with WLED, which is connected to a 5V Pixel Ring Round LED Circle with 12 addressable LEDs. Since the ESP32 supplies 5V directly to the Pixel Ring, there is no need for an external power supply.
WLED makes it really easy to configure the ESP32 and get it configured on my home IoT Network. It is also detected automatically in Home Assistant, and controllable from there immediately after adding it.
My “final” setup is pretty simple, I fixed the LED Pixel Ring to the IKEA back-plate using Tack-It and the ESP32 itself is just attached using some velcro!

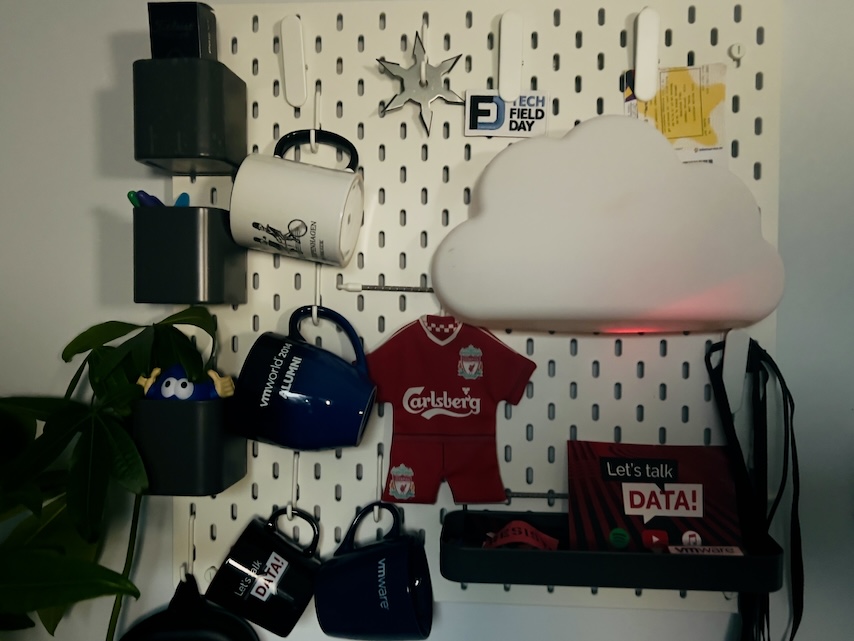
I then re-assembled the light fixture, and hung it back on the peg-board where it belongs.

Part list#
- IKEA LED UPPLYST
- ESP32-DevKitC
- 5V Pixel Ring Round LED Circle
- Dupont Cables
- Tack-It
- Velcro
- USB Power for the ESP32-DevKitC
This is what the final result looks like, effects called via web hooks in Home Assistant from my Stream Deck — And yes, I know I can see the red light from the onboard LED on the ESP32. I should have mounted it the other way around.
Of course, this can be automated in other ways as well, this is just an example of how it can be called from a third party.
WLED Effects and Home Assistant#
Lightning#
The lightning effect in the video, for instance, has the following automation code in Home Assistant:
alias: Cloud Lightning
description: ""
trigger:
  - platform: webhook
    allowed_methods:
      - POST
      - PUT
    local_only: true
    webhook_id: storm
condition: []
action:
  - service: light.turn_on
    target:
      entity_id: []
      device_id:
        - f2253fe283ebeeb725aac76887945f22
      area_id: []
    data:
      effect: Lightning
      rgb_color:
        - 255
        - 255
        - 255
mode: single
Red color effect#
The red color effect in the video, for instance, has the following automation code in Home Assistant:
alias: Cloud Red
description: ""
trigger:
  - platform: webhook
    allowed_methods:
      - POST
      - PUT
    local_only: true
    webhook_id: cloud-red
condition: []
action:
  - service: light.turn_on
    target:
      entity_id: []
      device_id:
        - f2253fe283ebeeb725aac76887945f22
      area_id: []
    data:
      rgb_color:
        - 255
        - 0
        - 0
      effect: Solid
mode: single