My new lab is based on Dell OptiPlex 7090 UFF hosts and after enabling vSAN on the four node cluster, the first two hosts I set up started having issues, especially with the cache devices. It seems that they just disappear from the host, especially when doing IO-intensive operations like changing the vSAN policy for a few VMs from RAID-1 to RAID-5. Once the host is rebooted, the device is back in place, seemingly without issues until the next time it disappears. Strangely this was not a problem before I configured vSAN, and only used the same devices as local datastores.
The two other hosts in the cluster has not shown any of the same issues, so I suspected it might be a firmware or BIOS issue. The two first hosts were both running BIOS version 1.4.1 and the two other hosts were running 1.5.0. Since 1.8 is the latest version, available upgrading it was the natural thing to do. Thankfully the BIOS upgrade is fairly simple, just download the new version from dell.com and follow the instructions. Since I’m running ESXi on these hosts, I updated the BIOS through the BIOS itself, with the upgraded version on a USB stick.
This worked just fine, but after getting the hosts updated and back online, I still had the same problem with the disappearing vSAN cache devices.
After some further investigation, it turns out that there are a few firmware updates available for my NVMe devices as well.
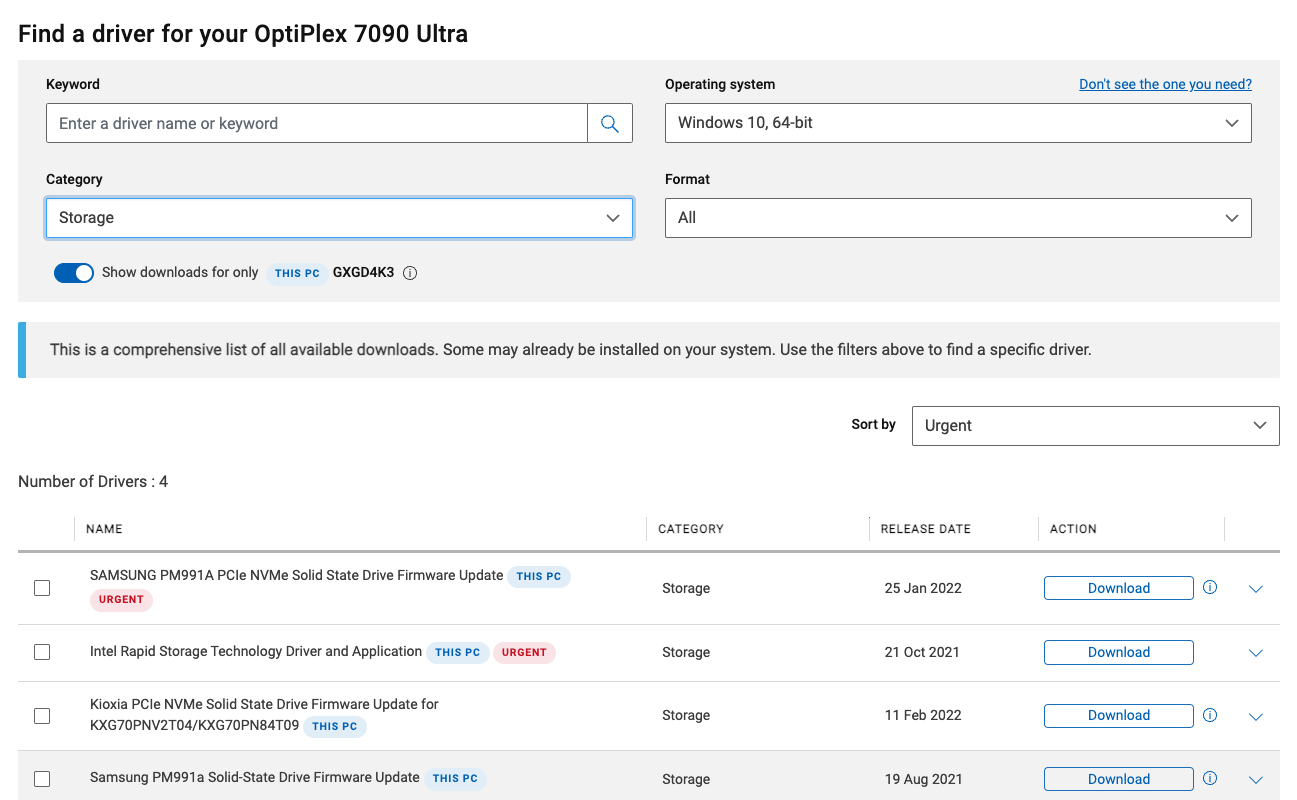
Naturally I did not need the Intel Rapid Storage Technology Driver and Application, but the others on that list looked interesting, and could have some bearing on the vSAN cache device issue I am experiencing.
The problem with all of these, is that Dell has decided that the way to patch them is though Microsoft Windows. This poses a problem in my lab, since I don’t have any Windows instances that has direct access to the underlying hardware.
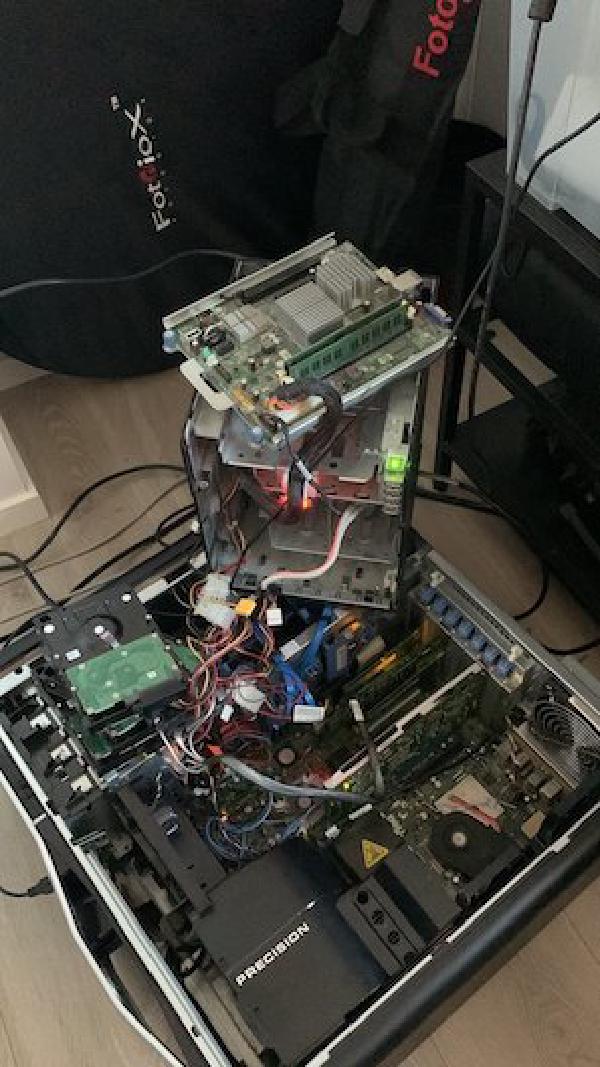
In order to get the firmware patched, I needed to create a new USB boot device, and get Windows installed on that before placing my host in maintenance mode and rebooting it with Windows. Luckily I had an old USB HDD laying around that was fit for purpose.
Armed with a Windows 10 ISO, I booted up a Windows VM in my vSphere environment, and installed WinToUSB inside the VM. I then connected the external USB HDD, via passthrough USB, to the VM and created a Windows installation on the bootable external USB drive. Once that process was done, I copied all my downloaded Dell firmware upgrades to the disk, and disconnected it from the VM.
After placing the host in maintenance mode to evacuate it, I powered it off and disconnected my ESXi boot disk and replaced it with the new Windows to Go installation and booted the host with it. Then it was simply a matter of running the updates from the Windows instance, and reboot the hosts with the ESXi boot device again.
Extract the updates from the Dell provided installer by running filename.exe /s /e=c:\mydir in an elevated Windows command prompt. This makes it much easier to run the updates if you don’t have a mouse installed.
At this point I’m not sure if the firmware upgrades have actually alleviated the problem, or not but the first indications are that it might not have. If that’s the case, I will have to dig deeper to find out if there is anything I can do about it in this very much unsupported environment.